
2D Subsection: Here you can find all commands related to the 2D side of the workflow.
![]() FlipBook : a new tool for making flipbook animation right inside of Maya The tool is still in production, the UI and features may
FlipBook : a new tool for making flipbook animation right inside of Maya The tool is still in production, the UI and features may
change in future versions.
You can create a new sketch layer with this
button ![]() .
.
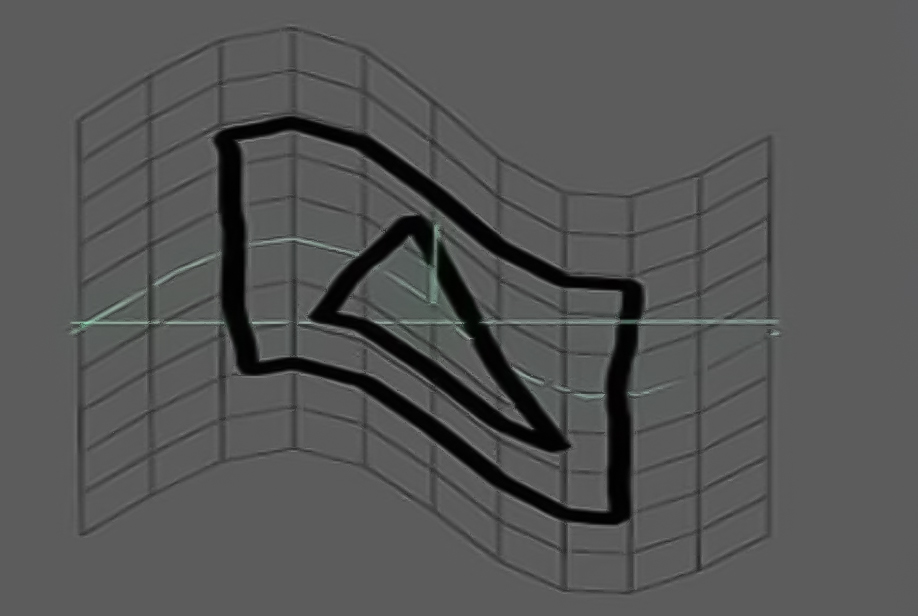
When you click on this layer by default it will create a plane in the scene, but if you have any poly mesh with unfolded UV selected, it will use that as a layer and you can start painting on that mesh.


When you draw something on the layer’s mesh, it will stick to that exact area and any modification to the mesh will get applied
to the whole animation.
You can use deformers, blend shapes, and sculpting to make different effects for your 2D animation.
The most common example would be to use a sine deformer to create a wind animation for your 2D flag.
Delete Layer ![]() : Remove the Selected layer and everything related to it.
: Remove the Selected layer and everything related to it.
Key Layers ![]() : set a keyframe for all flipbook layers.
: set a keyframe for all flipbook layers.
Static Frame ![]() : this button will key whatever is on the screen as a static layer. Static layers are visible on all frames.
: this button will key whatever is on the screen as a static layer. Static layers are visible on all frames.
Onion Skin Options ![]() : from right to left
: from right to left
Enable Onion Skin: this option will enable onion skin, it will let you see through the frames, and compare the keyframe and the in-betweens.
Post Steps: how many post frames should be shown in onion skin.
Post Steps: how many pre frames should be shown in onion skin.
Alpha/Transparency: Controls the opacity of frames.
Key All Mesh ![]() : This option is part of the stop motion tool, still very experimental but usable in many cases.
: This option is part of the stop motion tool, still very experimental but usable in many cases.
This button will key all meshes on the screen, in every frame you can modify, add or remove any mesh.
![]() Outline : Create a paint effect outline for selected mesh. Right-click for convert paint effect to poly command.
Outline : Create a paint effect outline for selected mesh. Right-click for convert paint effect to poly command.