
ToolBox
the new toolbox contains multiple new items.![]() Basic Tools: right-click on the curve Icon to see a list of basic tools, things such as pencil curve – ep curve tool – create polygon and paint effect brush tool.
Basic Tools: right-click on the curve Icon to see a list of basic tools, things such as pencil curve – ep curve tool – create polygon and paint effect brush tool. 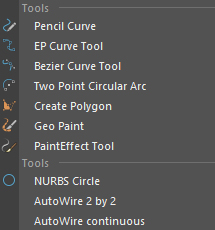
You can also find Auto Wire commands here.
Auto wire
Select multiple objects and run this command to create a wire between every two of them.
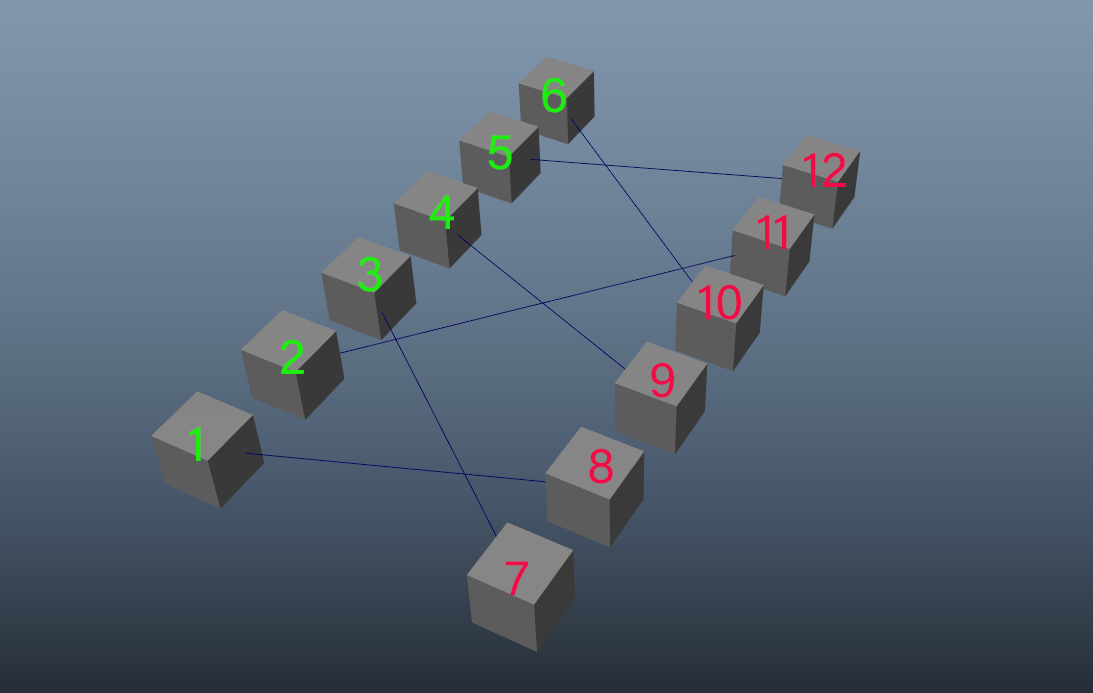
2 by b2
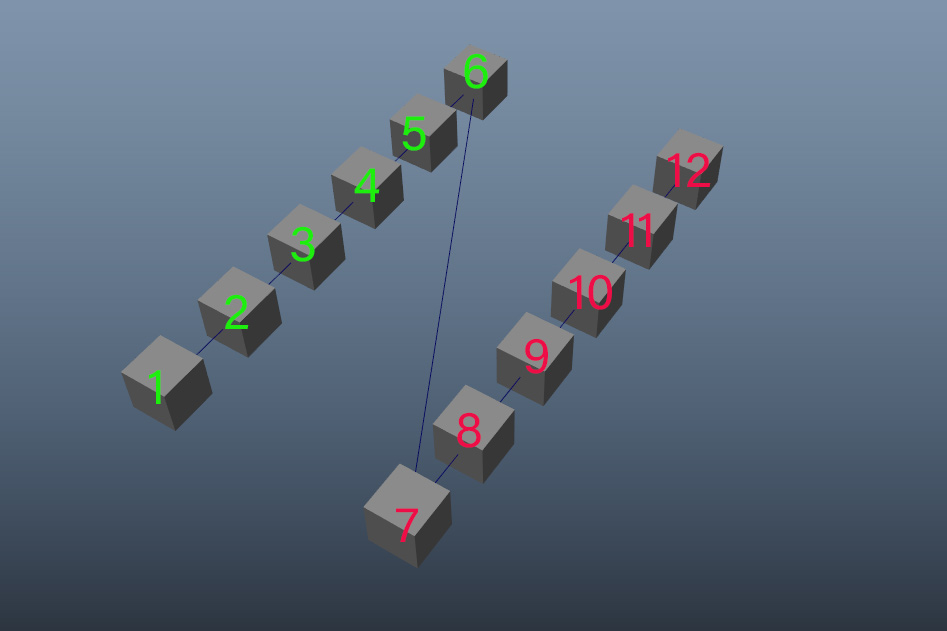
Continuous
Note that it doesn’t need to be a mesh, almost all objects are supported, you can select lights, joints, or even components of meshes, like vertices and it will make the wire between them.
The way you select items is important!
For the 2 by 2 method first, select the start point of the lines and then select the endpoint.
For the Continuous method select items in order that you want them to connect.
After you have your wires you can just select them and use the dynamic button in the
modeling section of the top bar to add wire simulation to them.
One important thing! when you use the dynamic button to create dynamic wires, those wires have collision and they can collide with each other, when you use Continuous mode, start and endpoint of two wires collide with each other and it can cause flicker, it’s best to make your curves a little bit smaller and then use them in simulation.


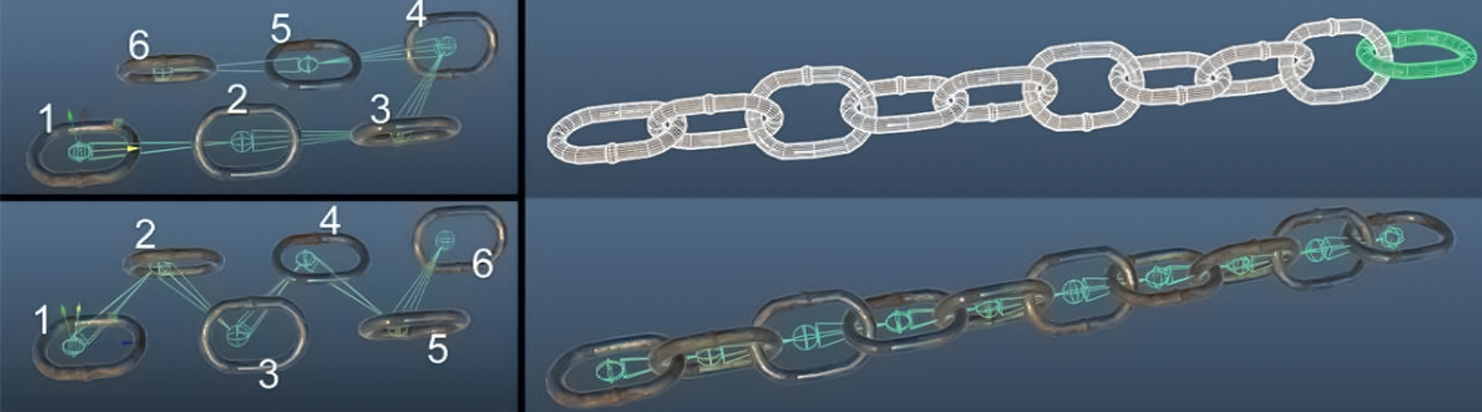
Smart Primitives
![]() the difference between these primitives and those you can find in Create menu or shelf, is that these primitives automatically get placed over the selected components.
the difference between these primitives and those you can find in Create menu or shelf, is that these primitives automatically get placed over the selected components.
When you selected some vertices and run a smart primitive command, it will create those primitives over those points.
When you have a set of edges selected, it will create a MASH network for you. You can modify the edges in any way and the MASH network will follow.
The original base mesh will be placed at the origin, modifying this shape will change all shapes that are placed over the surface.
A curve will be created over the selected edges, you can move, rotate, and scale this curve and offset all the instances as you need.
If you select this curve you can find all sorts of
controls for randomizing attributes of the MASH
Network as well as controlling the number of
instances and an attribute for offsetting items
along the curve in Channel Box.


![]() you can the basic tools and commands for rigging and skinning here.
you can the basic tools and commands for rigging and skinning here.
You can also find “Smart Joint” here.
Smart joints will create a set of joints on every selected object, just remember that the order you select objects is important.
Smart Lights
![]() the goal for these lights are to have one set of buttons for all lights no matter the render engine.
the goal for these lights are to have one set of buttons for all lights no matter the render engine.
So whether you use Arnold, V-Ray, Redshift, or Turtle you can use these buttons to create lights for your scene, and it will create the proper light based on your render engine. (for Arnold, it works best with Maya 2019+)
Clicking on this button will make an Area light for you based on your render engine, Right-click to see a full list of lights.
Renderers that are supported by Smart Light: Software, Turtle, Arnold, V-Ray, Redshift, Renderman.
Smart Materials
![]() same as the smart lights, the goal here is to have a set of buttons for quickly making shaders without the need to go through the list of all shaders and material.
same as the smart lights, the goal here is to have a set of buttons for quickly making shaders without the need to go through the list of all shaders and material.
Right-click on this button will open a list of items which has the most common shaders, when you select something like standard Material, it will create the standard material of that render engine, for example in V-Ray it will make vrayMtl, in Arnold it will make aiStandard, for turtle it will make Blinn shader. Note that Turtle is also the default render engine for X-Ray.
If you want to have the full list of all shaders, just left-click on this button and the list will get updated with a full list of all shaders from every render engine.
EasyTexture is a new tool for easily doing multi-layer texturing and creating shaders for your object, it is part of X-Ray and may not be available to you in the current version of MayaX.
X-Ray will have its separate Documentation.
This button ![]() will create a camera for you, nothing special about it.
will create a camera for you, nothing special about it.
