I was Searching my computer and i found these and thought it might be useful for some people
My personal notes on Maya Fluid
Hi I’m Morteza Ahmadi
Today I start thinking about what Fluids Attributes Will do?!
So 21/sebtember/2010 :
1.Solver Quality
——————-
I start looking at Fluid’s attributes (and what is this ?!! : FluidSolverQuality!?)
FluidSolverQuality: i change it from 0-1000 and i didn’t see any serious change after value:50 its just slowing down playback speed, and another thing is increasing the number will speed up simulation: It reach Top At:
Quality: 1—-Frame:55 Quality: 10—-Frame:51 Quality: 20—-Frame:49 Quality: 1000—-Frame:49
I think its better to leave it at Default Value it has both quality and performance.

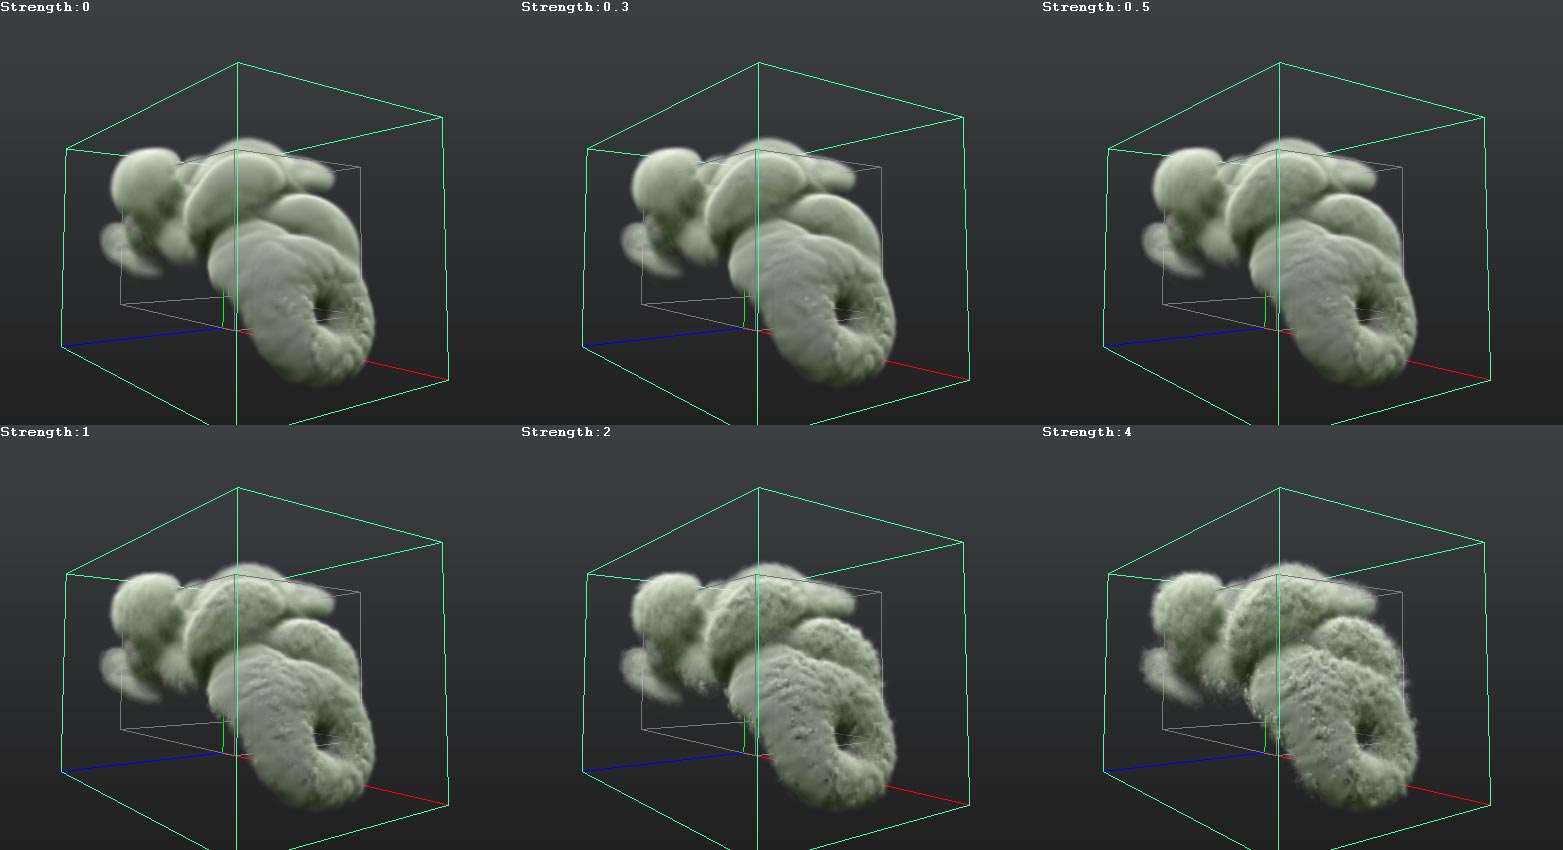
2.HighdetailSolver
——————-
This one is really important, See image below and some Video From “FluidHDS”.
I think its better to use : off: any soft effect | all except Velocity: For tin and soft smokes that has some cool swirl and details, i am mostly using this one as it has good detail and also a cleaner look compare to “All” | only velocity: i don’t know never find it useful for anything | all: explosions or very detailed and noisy smoke

A Day has passed- yesterday i create a Cool But a very hot Sun. i save the file on C: Drive and because of a viruses i reinstall windows,end of the story, i don’t have the file anymore and i try to recreate it but it just doesn’t look that good
So i want to Try Attributes to see why i can’t achieve that look and quality anymore
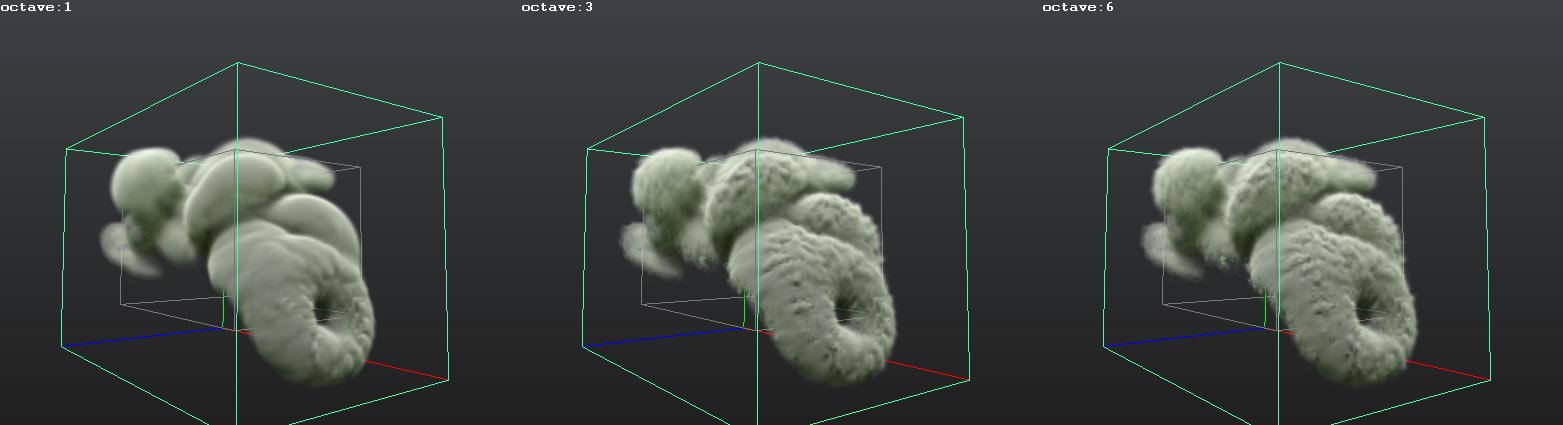
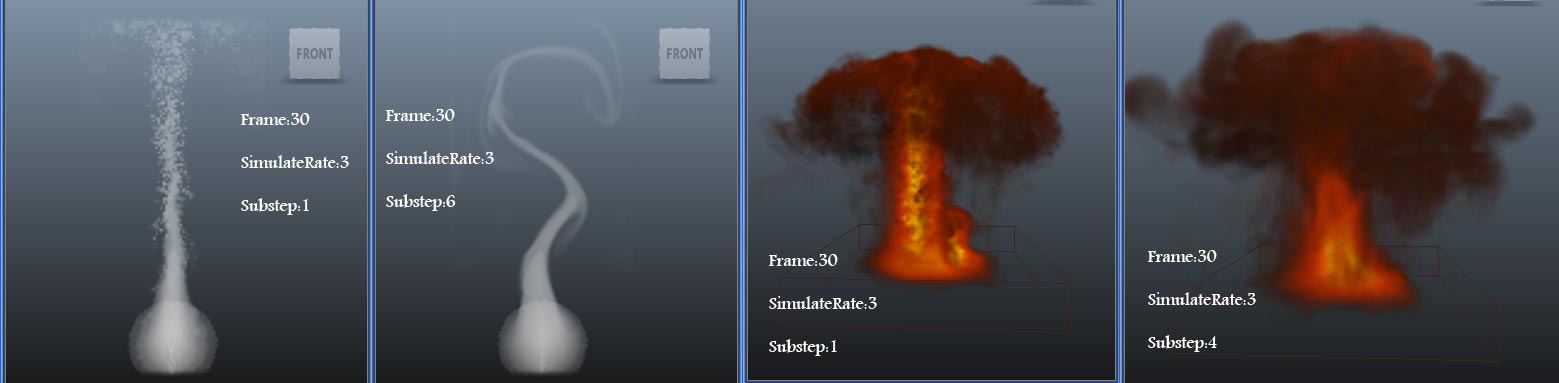
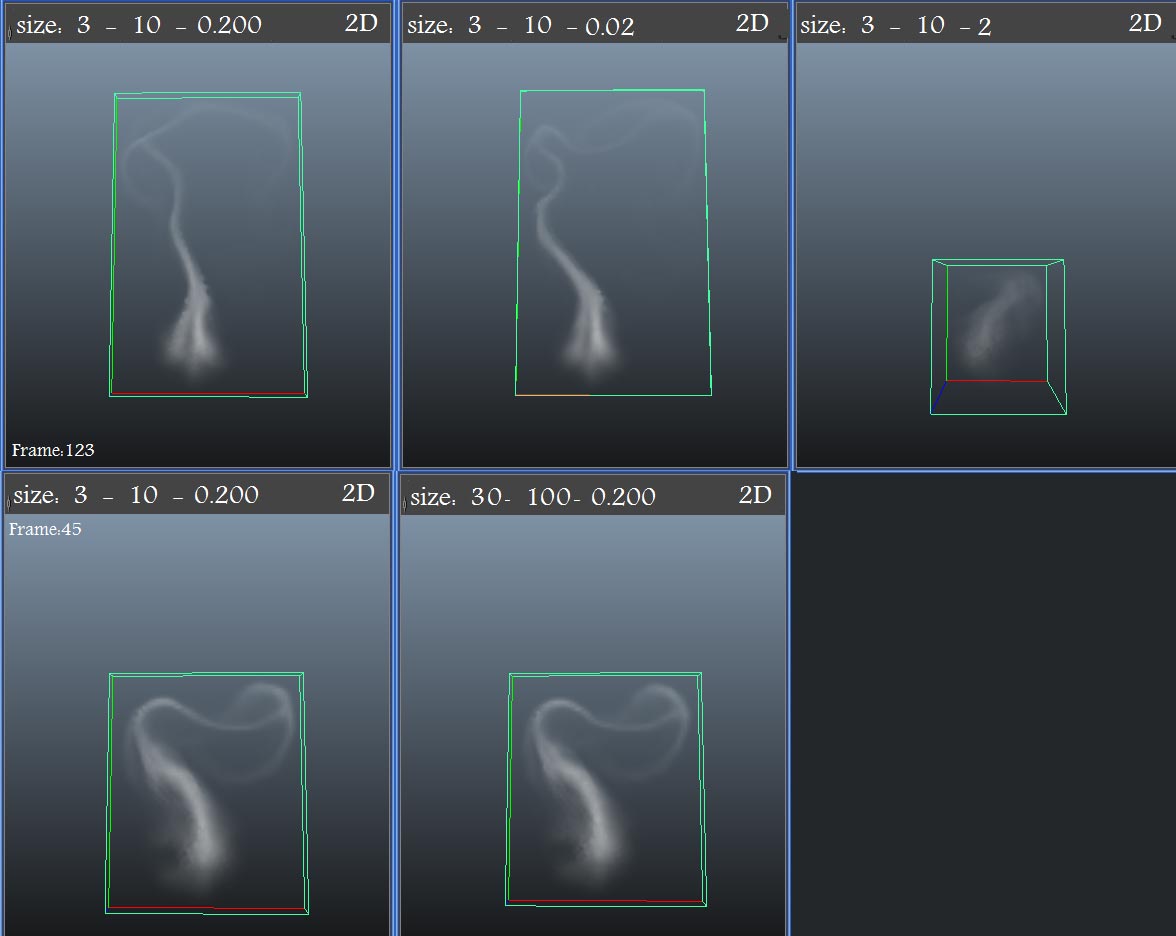
3.SubSteps
——————-
i can say nothing about this attribute, Maya help says: “Specifies the number of times the solver performs calculations per frame. Substeps are useful for improving the stability and simulation results of fast-moving fluids, fluids with high density grids, and when the High Detail Solve is used”
then i guess its better to test it on some fast Fluids, take a look at the image below
Some more tests with solver quality and Substep


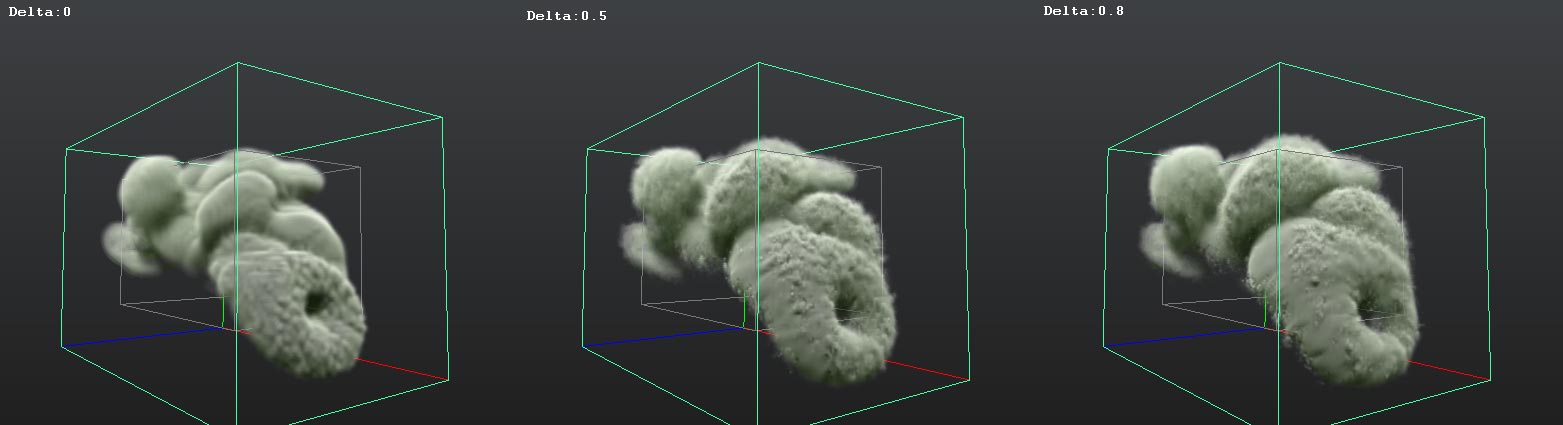
4.Forward Advection
——————-
i think its another way for solving, base on your simulation it some times add more detail and some times reduced it,
it will look cool for fire
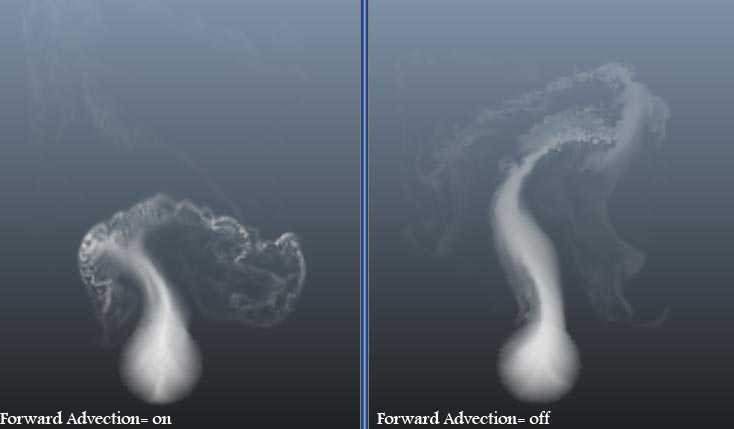

so i recreated the sun, and i learn that some times you just need to look at your work from different angle
6.Size of the Fluid
——————-
let see what will happen if i resize the Fluid’s container.
with the autoresize = on
well. noting happend !?
7.Emitter size & Fluid Resolution
——————-
well. it change many things but I find out that maybe it only changes the resolution. look at the image below “Image 7_1” notice the #4, the auto resize doesn’t work well
that usually happened at high Fluid resolution values, Look at the image “Image 7_2” there is no change in the size of the emitter i only change the resolution value.
notice that the value of 600 & 800 are like #4 of the “image7_1” its really bad if there were no way for using auto resize with high Resolution Fluids. How can i Fix it ?


Thank god, i learned the answer of this Question, earlier today, maybe there be another ways But Mine is using a low density Emitter. look at the image “image7_3”.
Low density Emitter:(a normal Volume emitter, Density Metod = Replace, Density/Voxel/Sec = 0.001, ) i Find out another thing if you set the fluid drop off to 0 it will kill the Fluid’s density and if you set it to higher values then you can use it to lower the density at that point or just as a way to resize the fluid container.
Note: the depth of the emitter is important too (Z Axis).

SoUp Upress parameters