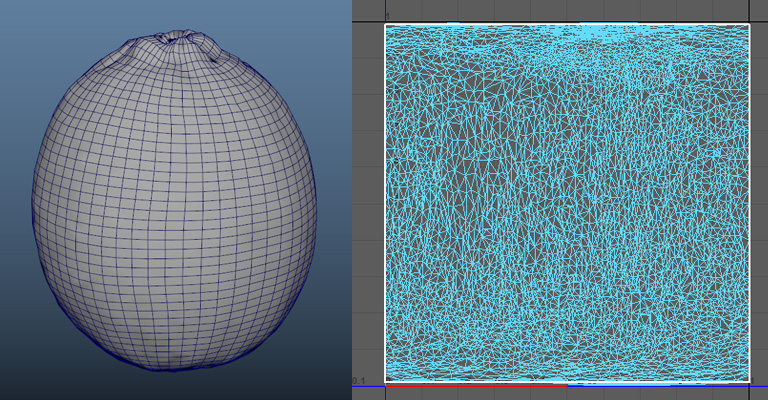
The Planar Retopo is a one-click retopo tool, it uses your object’s UV to position a plane around your object. It works best with flat or tube-shaped objects. But you can use it on almost every shape as long as it has a proper UV.
How it works:
When using Planar Retopo the most critical part is the UV of the original mesh.
You should try to unwrap it in a way that covers almost all the UV Area, similar to a poly plane.

As you can see in the above image, it is very important to properly unwrap your mesh and make sure to merge all the UV shells into a single UV island. This will help you avoid seams and stretching in your topology.
But even in the above image if we look at the behind of the object we can find overlapping seems.

So it is also best that you flatten the borders of your UVs, this will help with the seam line that exists on the edge of the plane.
In most cases, you don’t need to use any special tool or technique you can just select UVs on every side and use the scale tool to flatten them.
After that, you can pin the border UVs and use “smooth” and “optimize” tools to relax the rest of the UVs and have a cleaner seam.
although you can just ignore this part, merge vertices, and use the sculpting tool to relax the seam.

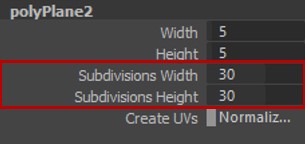
Inside the channel box, you can use the Subdivision attributes of the polyPlane to control the division of your new mesh.
The Width and Height attributes don’t do anything here.

