Light map UV
Lightmap UVs are essential for Light Baking.
If you have used game engines, you are probably familiar with the concept of light map UV.
In X-Ray, you need to have a second UV set with the name “LightmapUV” to bake light map.
If your mesh doesn’t have one, X-Ray will create one for you using Maya’s Auto UV tool.
The naming is the same as Unreal Engine, so if you export your scene from unreal and import it to Maya, your light map UV can be used by X-Ray.

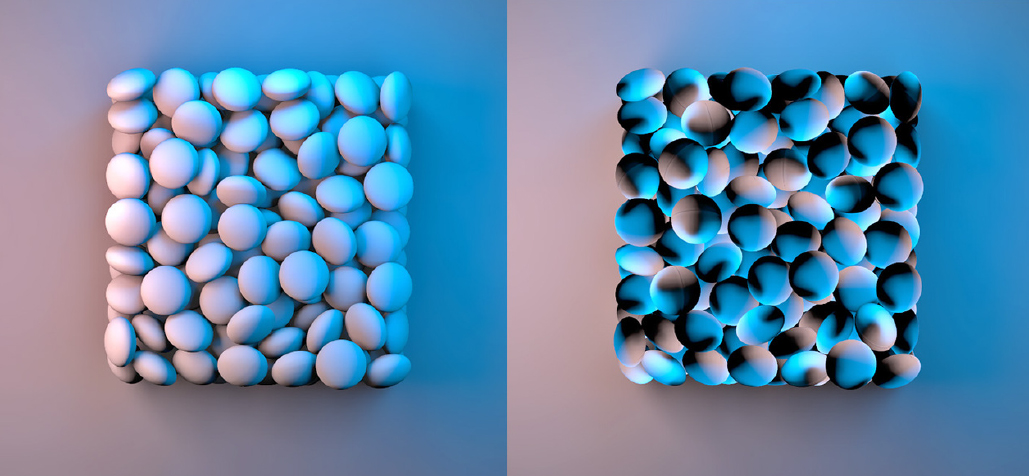
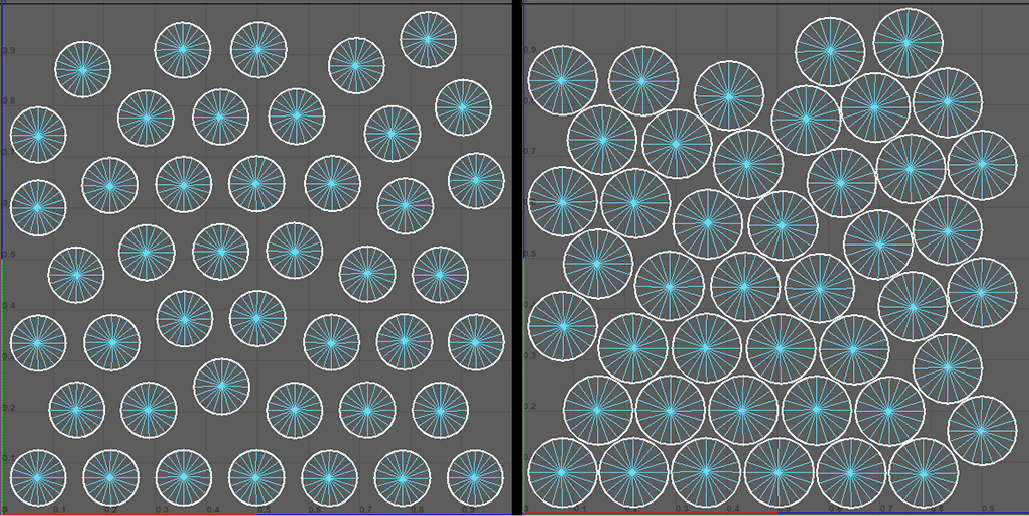
Non-overlapping UV Overlapping UV

For objects with sharp edges the AutoUV may work just fine, but if you have objects with round and soft look it might be best to manually UV your object.
if you have Maya X, Rail UV can be a good tool for creating clean Uvs, you can later layout UVs and create non-overlapping UVs. It is also wise to always hide your UV seams somewhere not too visible, like under or behind the mesh, or over the hard edges.

Light map UV in X-Ray Window
There are 3 UV buttons on x-ray baking window.
Auto UV: Create LightMapUV for selected Meshes using Maya’s AutoUV command.
Copy UV: if your mesh already has unwrapped UVs you can use that as your lightmap UV, Left-Click for more options
- Copy Current: Copy current UV set for Lightmap UV.
- Copy Layout: Copy Current UV set and apply UV Layout, this is good if your object already have unfolded UV but they are overlapping.
Specify UV Set: Sometimes during UV creation or when you import models from external apps, UV sets will get all mixed up and X-Ray fails to assign the right UV set to the lightmaps, while in latest versions of X-Ray this may never happen but still if it ever happened you can use this button to help it find the right UV set, Left-Click for more options.
- Auto Find UV Index: Automatically search for lightmap UV and assign it to all X-Ray maps.
- Use Specific Index: You can enter the lightmap index and X-Ray will use that.
Remember that you may see only 2 UV sets on your model and thinking that UV index is 0 and 1 while in Maya there was many removed UV sets in the middle, for example in this image you can see that we have 2 UV sets in the model but the index of lightmap UV is actually 4, the other 3 were UV sets that I created before but later removed them from the model.

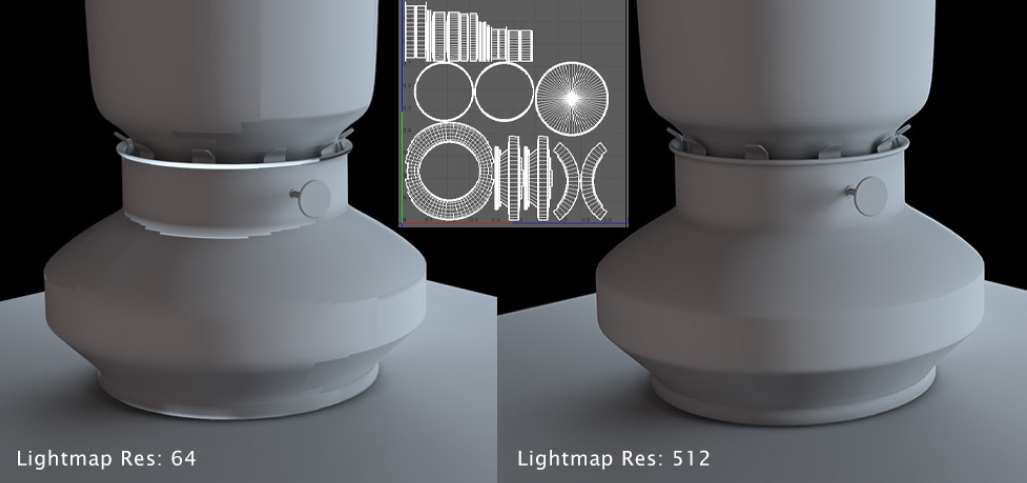
Remember to always consider your light map resolution when making light map UVs:

Lightmap resolution 64 vs Lightmap resolution 512
The lower the resolution, the more empty spaces you need between each UV shell and vice versa.
This will help prevent shadow and light bleeding. Maya UV Layout Tool have an option for adding this space between shells. It is also recommended to avoid putting UV’s too close to the borders of 0-1 UV Area.
Lightmap Resolution
Each object has a lightmap resolution.
you can manually add Lightmap resolution attribute to your objects using the baking window or you can set a global value in the baking window and as soon as you start baking, the attribute will be added to all objects. You can find lightmap resolution in Channel Box.
Usually you don’t need to set a very high resolution for lightmaps but here are some cases where you want to increase lightmap resolution: To achieve cleaner lighting quality: Specially in case of interior scenes, you may want to use a higher resolution to achieve cleaner GI and lighting.
if you get light leak or dark spots in corners of the room you might be able to fix it by increasing lightmap resolution. Note that this won’t affect the quality of lighting, only the resolution of the lightmap.

In the above image, the floor is covering both dark areas of the interior and the sunny outside, because of the low lightmap resolution you can see that some lights from outside are visible inside the room.
when we speak of increasing resolution you don’t always need to go to a very high resolution as you can see in the above example just increasing it from 64 to 128 has solved the problem without increasing bake time that much.
To fix UV seam errors

There are times when you just can’t hide UV Seams, increasing lightmap resolution will always help.
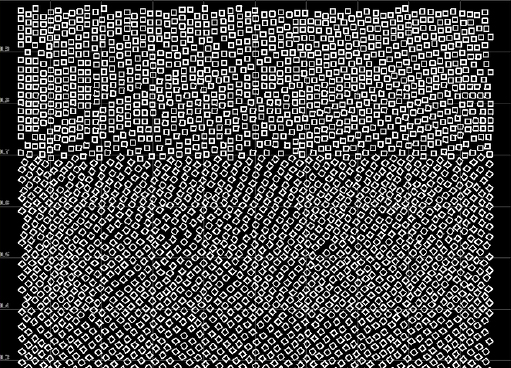
Lots of small tiles in UV
You need to use higher lightmap res if your mesh has lots of small parts. look at the UV map on the right, not only a 64×64 map would not give you any shadow detail, there will also be a lot of dark spots on wrong areas of the mesh.

Your surface covers a large area
for example, floor or walls of your room, specially if there are many objects on them which cast shadows.
Note that higher Lightmap Resolution also means sharper shadow edges, so if you want to get a very sharp shadows from something like a sunlight, you need to increase lightmap resolution.
