Basics
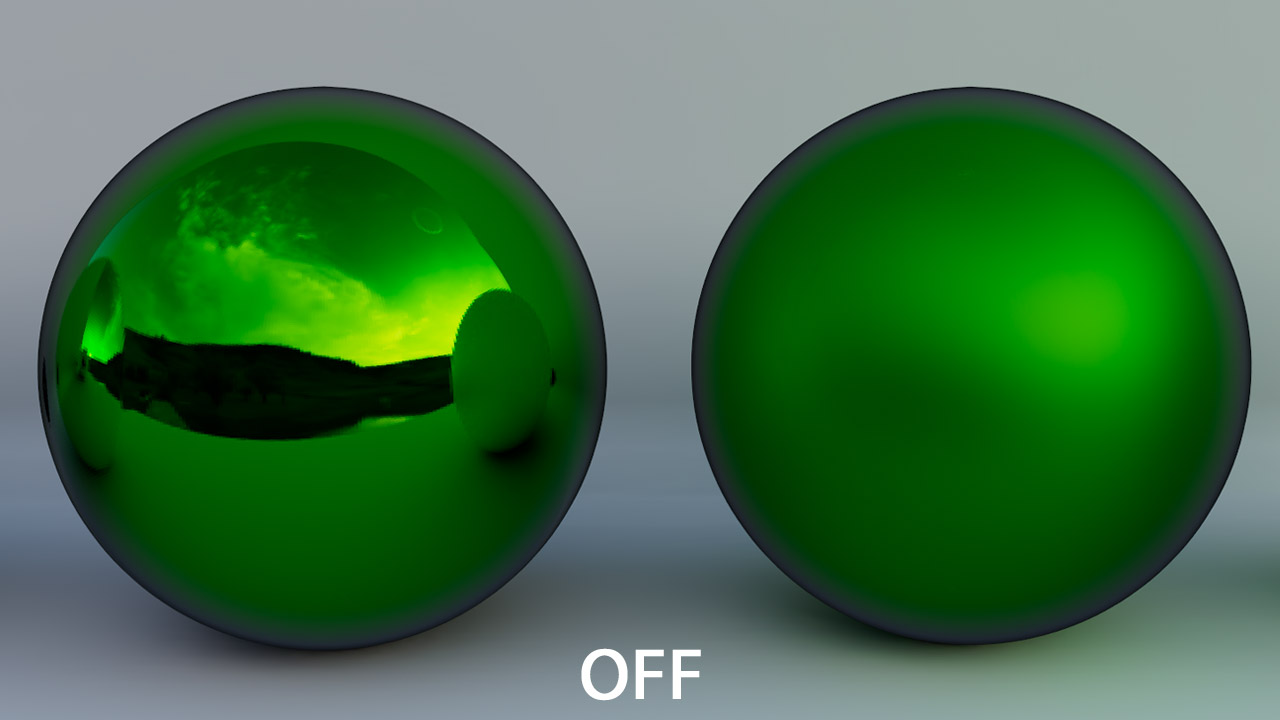
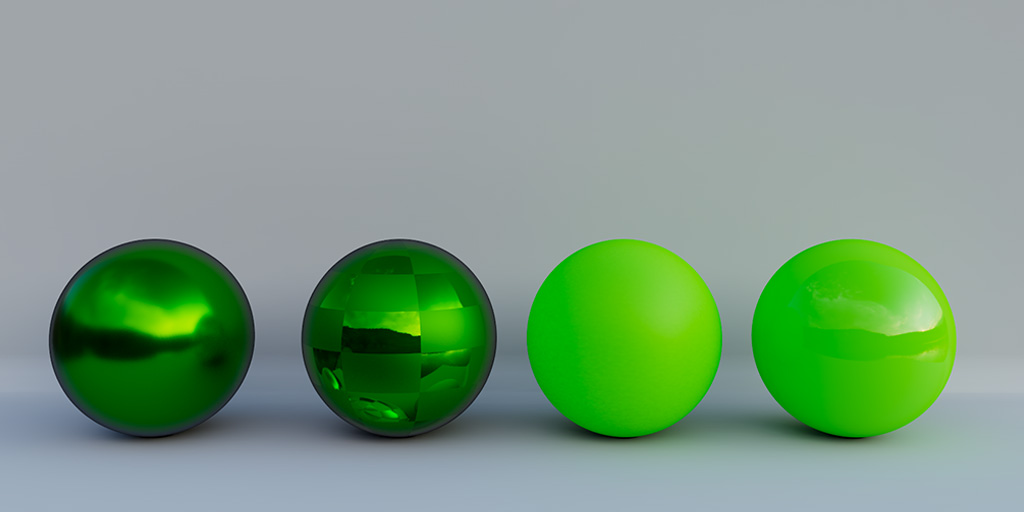
Similar to game engines like UE4 or Unity, X-Ray uses baked reflections.
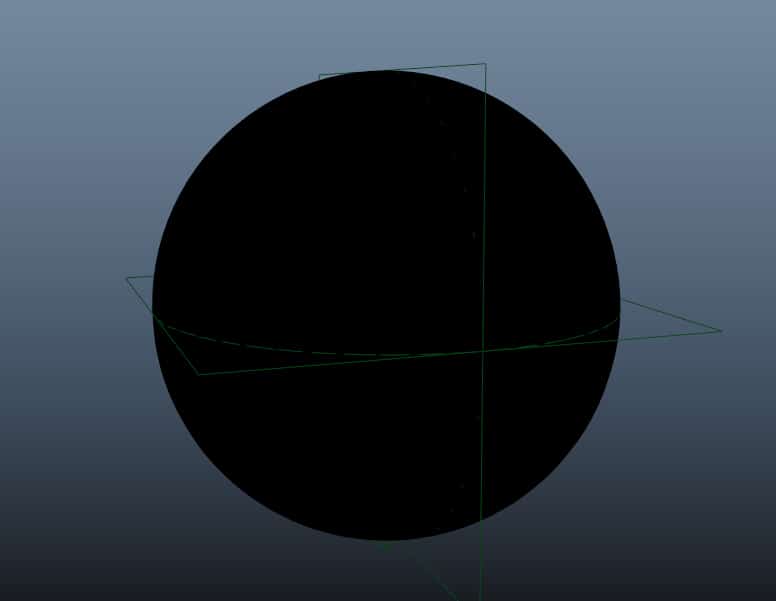
When you bake lightmaps a reflection actor will get added to your scene for every material.

Build reflection
This button will build reflection for selected object
Build All reflections
This button will build reflection for all objects in the scene.
Add reflection actor
This button will add a reflection actor for selected objects in a new group, which allow you to apply different settings to the actor independently.
Select reflection actor
Selects highlighted object’s reflection actor.
Apply to mesh
You can use this button to assign the selected reflection actor to the selected Meshes and share the same reflection actor between multiple objects.
Default material
Assigns a new material to reflection actor you choose.
Resolution
It is the resolution of reflection image for rough surfaces 128 is enough, however for more reflective surfaces you might want to increase it to a higher value.
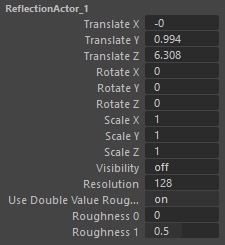
Use double value roughness
When you assign a rough map to your shader X-Ray will bake two roughness values and blend between them, if you disable this option even when you use rough map the reflection will be baked with a static roughness value.
Roughness 0 and 1
This is the range of the roughness on this actor, if you are using a very rough texture for your rough map with most of you map being light gray or white you may need to increase the roughness 0 to a higher value, as this will be the value shown on the darkest area of your rough map so if the darkest area is a light gray you need to have a roughness 0 that matches to that value.
Shared reflections
Being able to build reflection for every object in the scene is one of the unique points and strengths of X-Ray but in many cases, but in many cases, you don’t need to have that level of accuracy, and the difference between having reflections built per object or sharing the same map between them is not going to be noticeable, so to save ourselves some baking time we can use shared reflections.

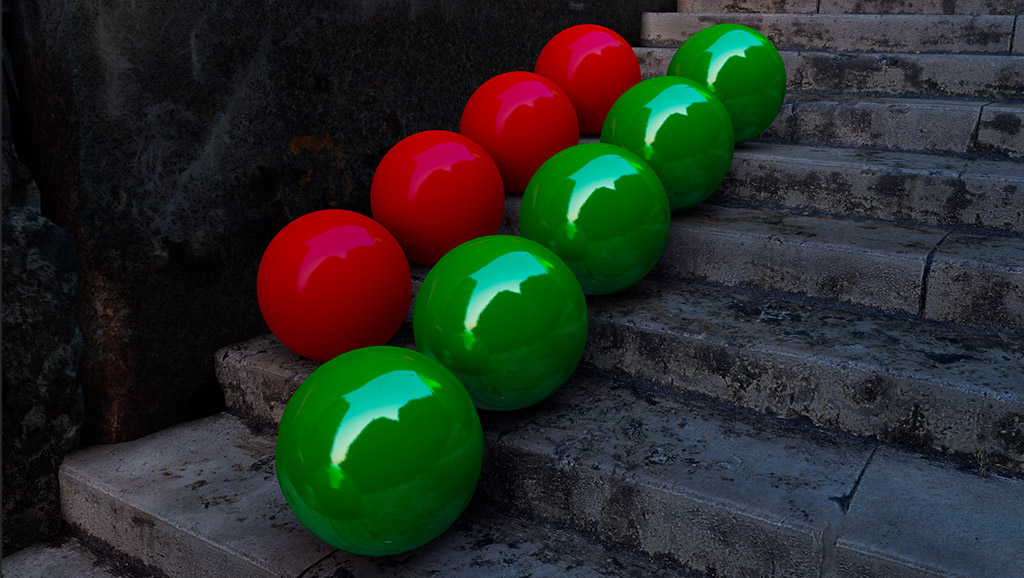
How to use Shared Reflection:
First you need to assign the same reflection actor to all the objects that you want to have shared reflections.
1-Select multiple objects from your scene (polygon meshes)
2-Either add a new reflection actor or select an existing reflection actor and assign it to all the selected objects. (use “Apply to Mesh” button from X-Ray window)
4-Now Select only the the Reflection Actor and add a “Shared Reflection” Attribute to it
5-Now if you build reflection for any of these objects the same map will get applied to all of them
when you add shared reflection attribute to a reflection actor, it will create a new attribute for the actor that you can change at any moment from the Channelbox.

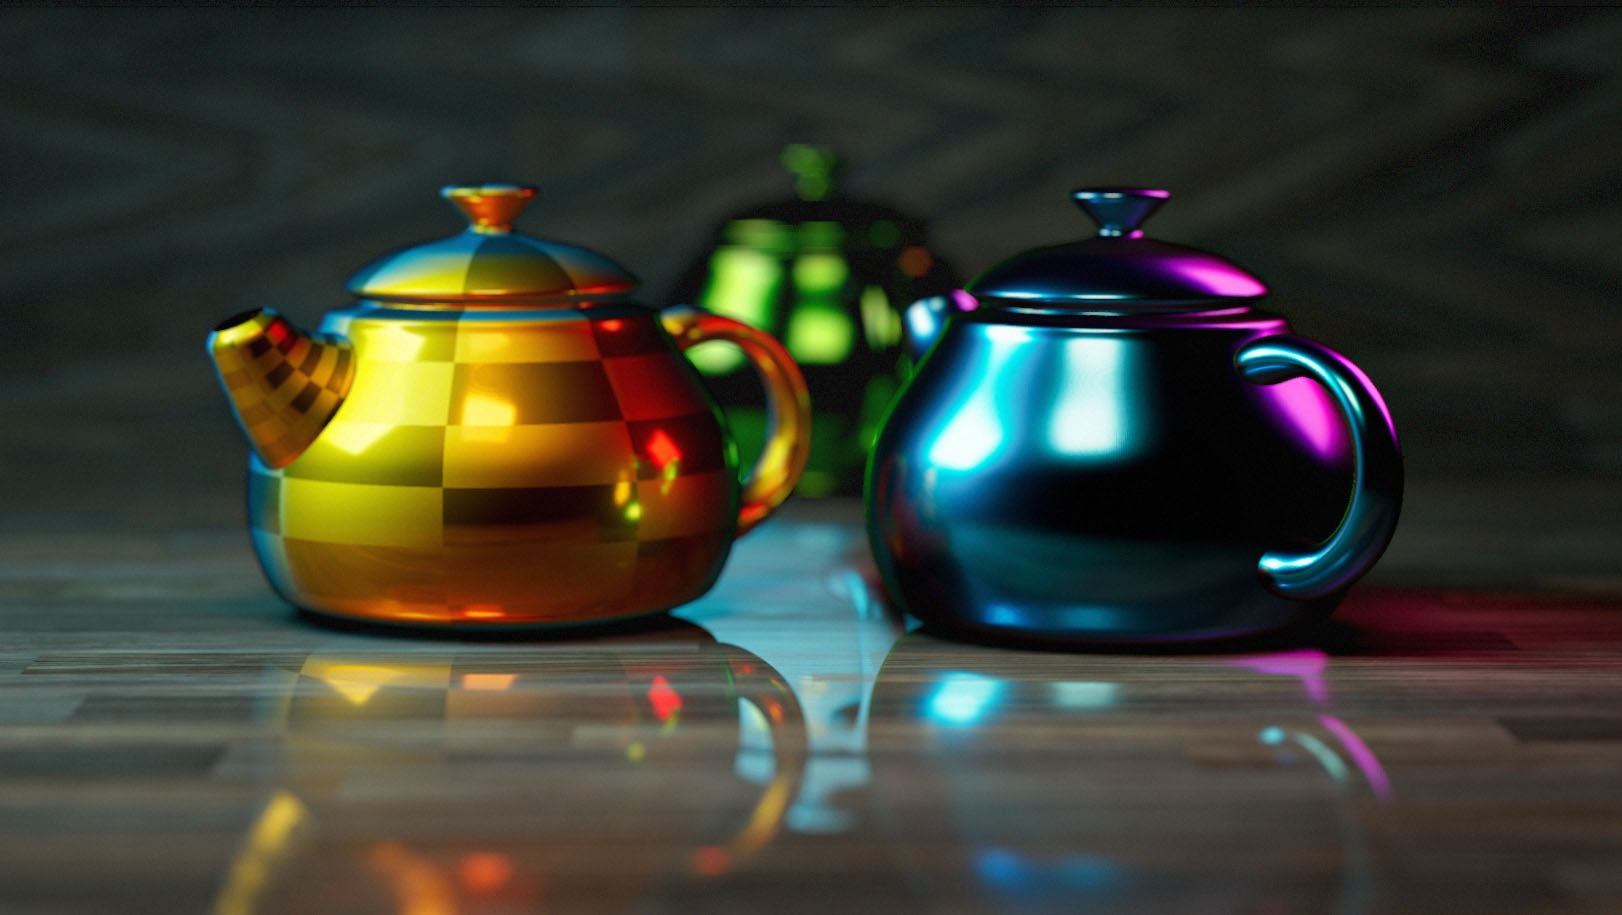
Planar Reflections
Reflection actors work for well for most non-planar surfaces but for flat surfaces like floor, walls or mirrors we have to fake them.
first duplicate the object you want its reflection on the planar surface (you can set the “duplicate with lightmap” hot key and use that), or first select duplicated object then the original mesh and press the ![]() and select “Share Lightmap” this way the copied mesh will use the same maps as the original.
and select “Share Lightmap” this way the copied mesh will use the same maps as the original.
then mirror the object (for example by using a negative scale value) and move it behind the flat surface, and finally lower the opacity of the flat surface and you will have a fake reflection.
Reflection Denoising:
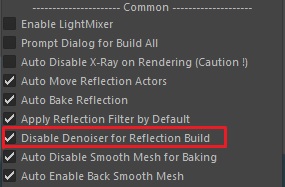
by default, reflection denoise is disabled from the X-Ray window, so even if you add an Arnold denoiser it won’t effect reflection.
you can enable reflection denoising by unchecking “Disable Denoise for Reflection Buid“
Reflection Filter:
You can enable reflection filter to apply image filter to reflection maps, this will result in smoother reflection, and you as result you don’t need to set a high-resolution for reflection maps but the downside is that in many cases it can leave an artifact on the reflection showing as white line that goes across the border of the map.
